|
By Brian Trepka
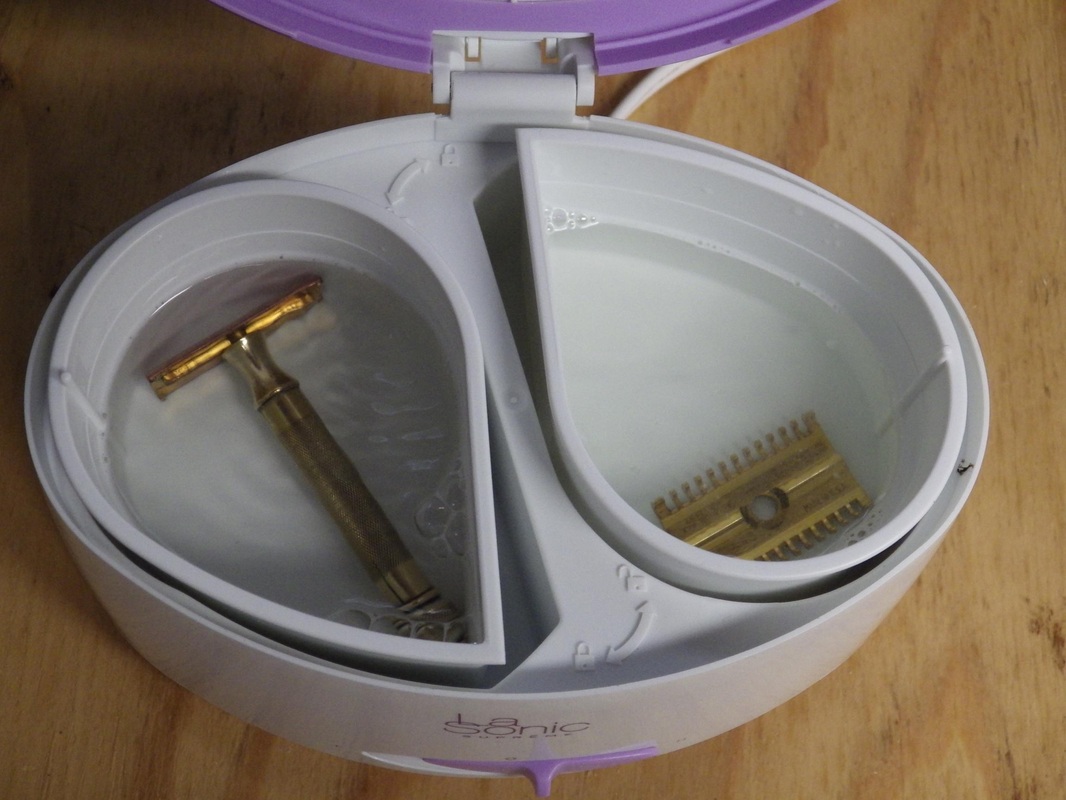
Brush Plating? Thankfully, I had purchased another vintage thing some time ago that needed restoring – a 1973 Harley Davidson SS 350. It’s an Italian-made (yes, Italian) Harley single with a rare set of handlebars. If you find a pair with only a little rust on them, consider yourself lucky. To fix mine, I had purchased a brush plating kit. It struck me that I could also use it to fix the finish on my Gillette. Like tank plating, brush plating uses a plating solution, but the solution is applied using an electrode that is wrapped in a gauze bandage which has been soaked in the solution. It’s ideal for repairing plating on large parts in situ, but it’s also nice for plating on a small scale at home, since the kits are relatively inexpensive, and they come with everything you need. Will the results on a razor be as good as you might get with a razor plating service? Probably not, but for making a “user grade” razor more usable, they work well. What follows is a general outline of the procedure I used to fix up my razor. Prep Work
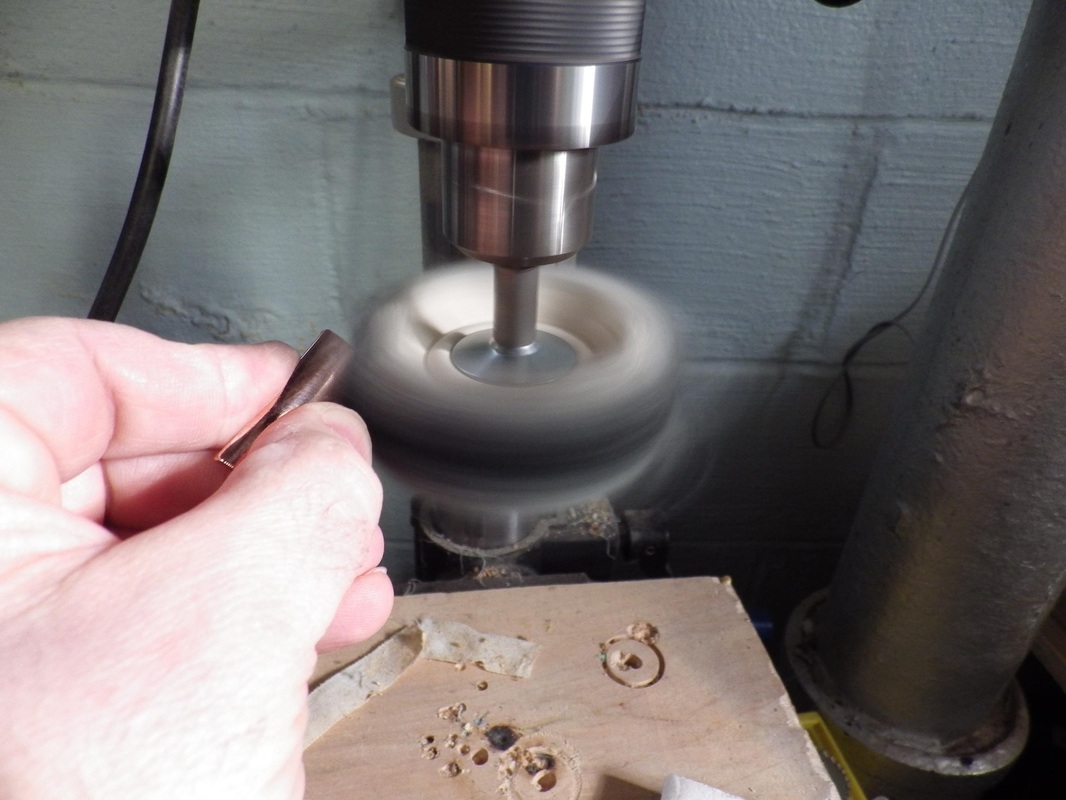
Tank Plating the Cap
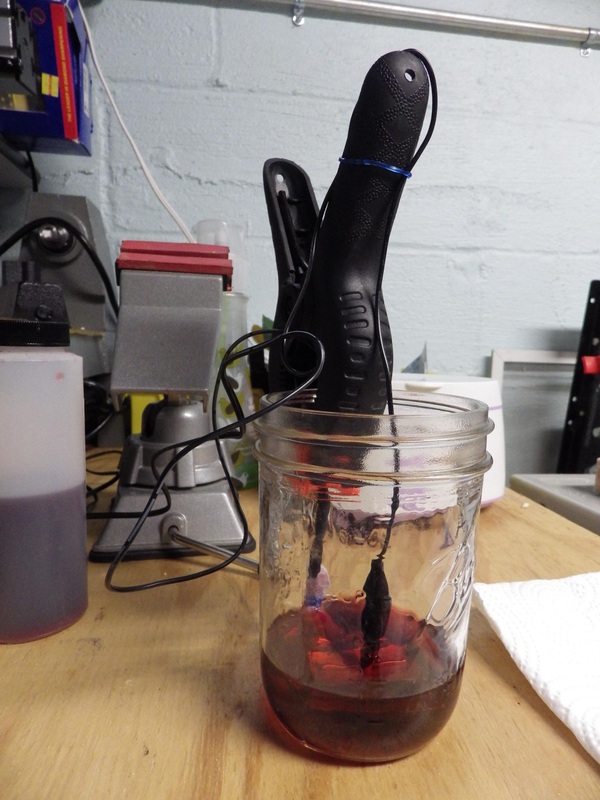
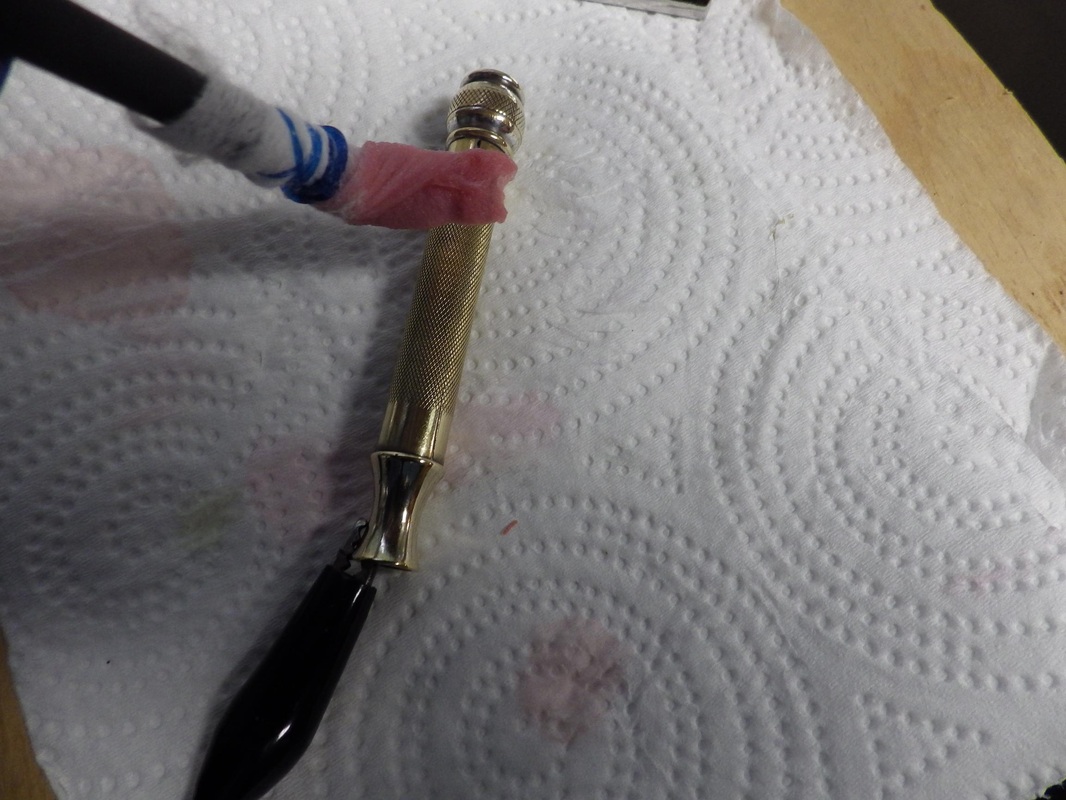
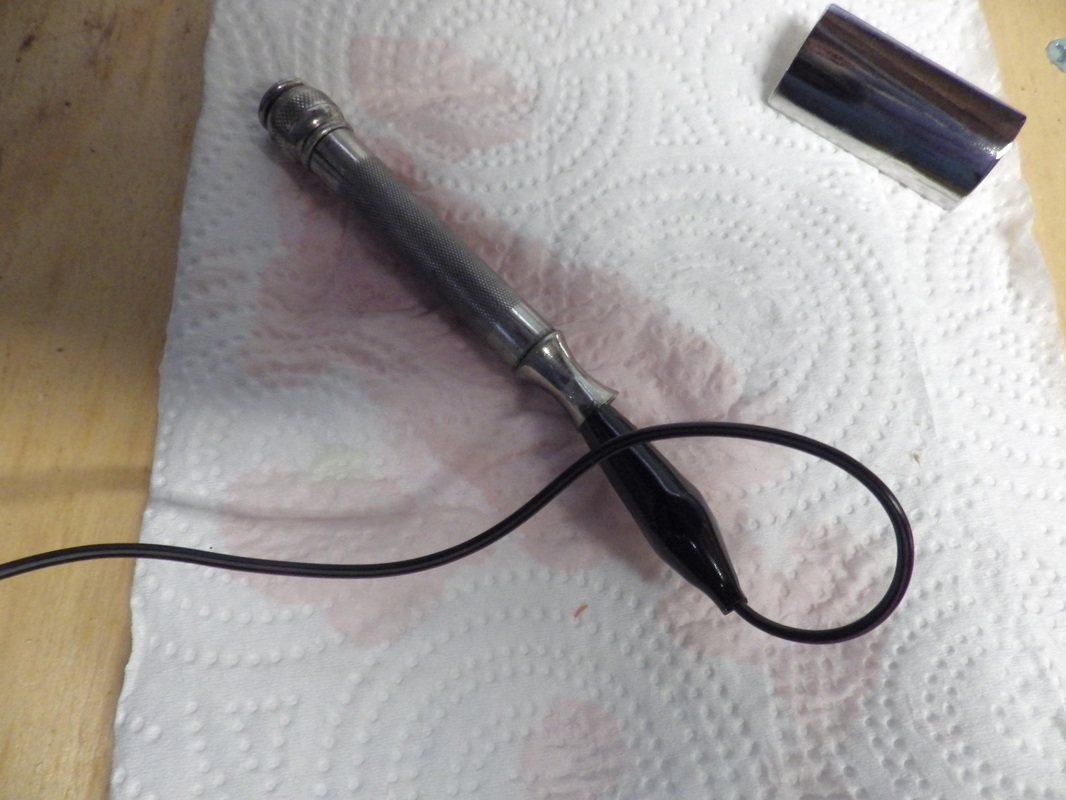
Brush Plating the Razor Handle
The Finished Product The end result is pretty darn good in my opinion. I don’t know that I’d try this procedure on a family heirloom or other valuable razor, but I’m very happy with the end result in this case. I always loved how this razor shaved, but now I love the way it looks, too. 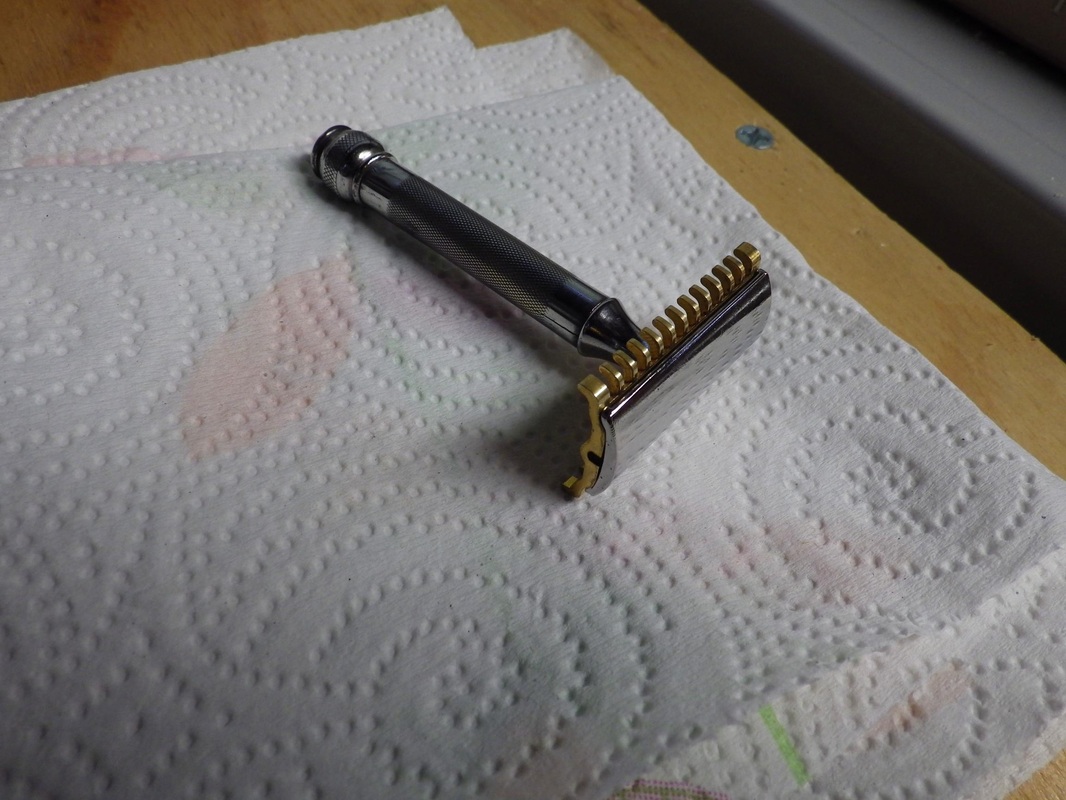
Note - Safety First! Do this stuff at your own risk! Chemicals, electricity, and power tools can be dangerous. Please take proper safety precautions, like wearing chemical-resistant gloves and goggles. You should follow the instructions that come with your tools and your plating kit. The kit instructions may differ from what I’ve done here, depending on the kit you buy. Make sure to dispose of any waste in a manner consistent with local regulations.
3 Comments
|


 RSS Feed